Testing
This guide shows you how to test your coaching intervention while you are building it. You will learn how to connect the app, restart a test, and use debug mode to test faster.
1. Set Up the MobileCoach App
Step 1: Download the app
Install the MobileCoach App on your phone:
Step 2: Select the coaching you want to test
- Open the CoachStudio Designer.
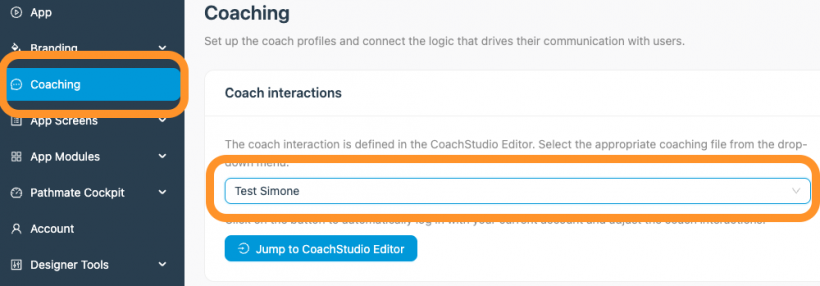
- Go to the menu point "Coaching".
- Under "Coach interactions" select your coaching from the dropdown menu.
Can't find your coaching in the list? Your account doesn't have access to it yet. To learn how to get access, read Access and Access Control.
Step 3: Start your test
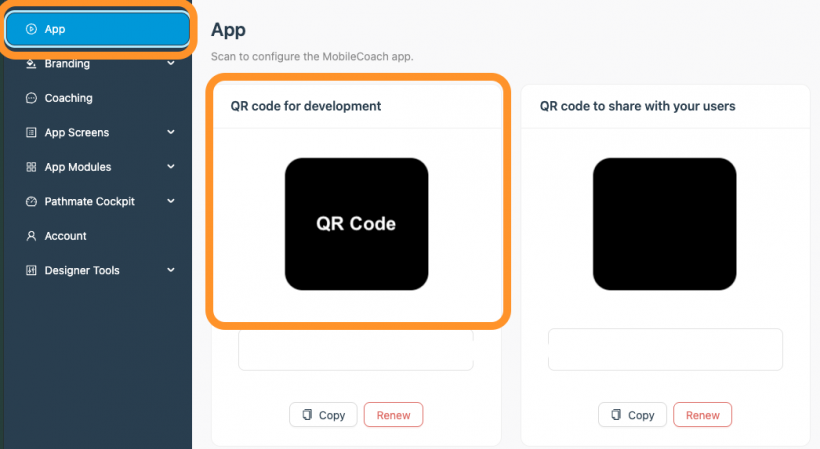
- Open the CoachStudio Designer and go to "App" for your QR code for development.
- Open the MobileCoach App and scan the QR code.
- Your app is now connected to the coaching, and you can start testing.
Restart a test
To start your test over from the beginning:
- Tap the debug panel at the top of the app (the "header") to expand it.
- Tap Reset.
- Scan the QR code again. Your test now starts from the beginning.
2. Use Debug Mode
Debug mode helps you test faster and more precisely. It is controlled by the $debug variable:
| Value | Meaning |
|---|---|
$debug = 1 |
Testing mode is on |
$debug = 0 |
Testing mode is off ("real world" mode, as your users will experience it) |
Turn debug mode on or off
- Open the CoachStudio Coaching Editor.
- In the menu, open the Variables tab.
- Set
$debugto1(on) or0(off).
For more details, read the Variables section.
What you can do with debug mode
- Skip to a specific dialogue (Debug Jump): Jump straight to the dialogue you want to test, without going through all the dialogues before it.
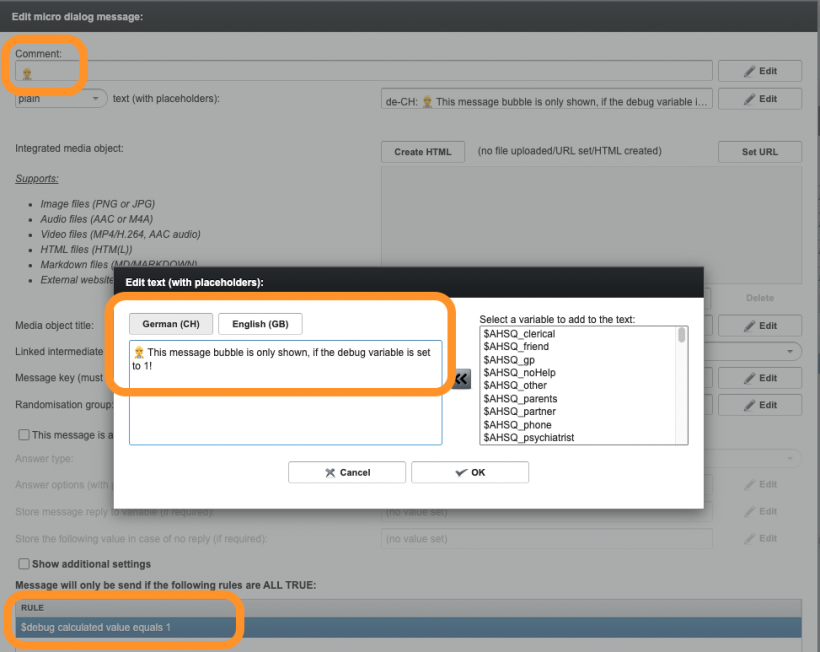
- Show testing messages: Show messages only in testing mode by adding the condition
$debug = 1. - Simulate test scenarios with debug questions: Use debug questions to set fake values, so you can quickly reproduce and test specific scenarios.
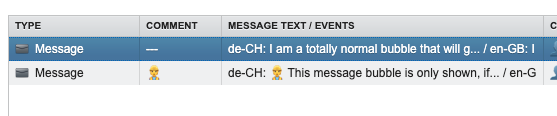
Pro tip: You can always add the same emoji (e.g. 👷) to your debug bubbles (also in the comments, see screenshot) so you can quickly identify debug messages in your dialogues in the coaching editor as well as in the chat flow.
Skip to a specific dialogue with the Debug Jump
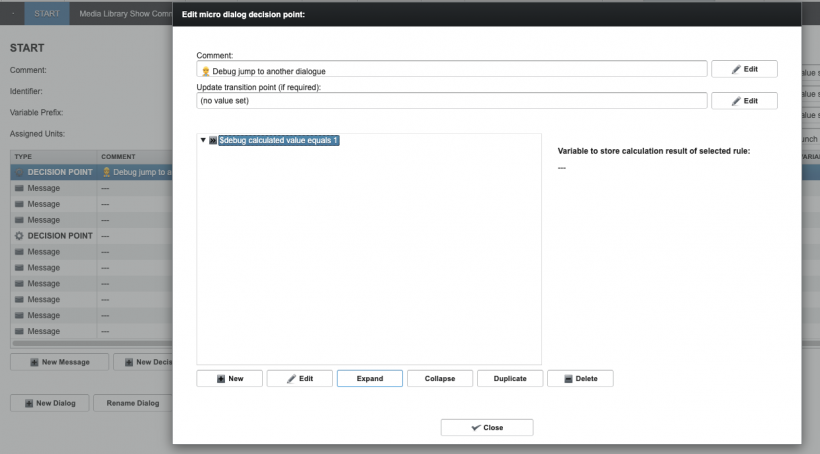
- Open the START dialogue and find the debug jump (e.g., ⏩️ Debug Jump for Testing).
- Open the debug jump and select the Micro Dialog you want to test from the dropdown menu
Jump to other dialogue if TRUE. - The jump only happens if
$debug = 1.
Now you can jump directly to the dialogue you want to test, without going through the others.
Simulate values with testing messages
Why is this useful? To make sure a Micro Dialog works as intended, you often need to test different branches, depending on user answers or attributes. Sometimes the variable you need isn't available yet, or it isn't set because you skipped earlier dialogues to test faster. In these cases, you can create a testing message that lets you set the variable yourself.
Example: Testing a dialogue based on gender
Goal: You want to personalize a Micro Dialog based on the user's gender:
- Female users should receive message A.
- Male users should receive message B.
Problem: The $gender variable is not set while you are testing your new dialogue.
Solution: Simulate the variable with a testing message:
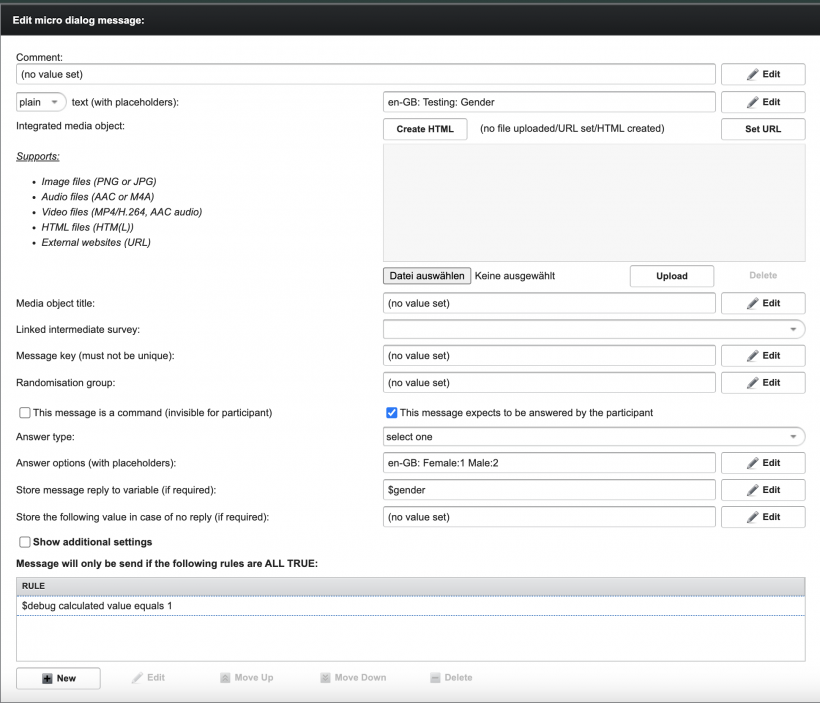
- Create a testing message: Add a new message and name it "Testing: Gender".
- Choose the question type: Make it a "select one" question with two options: "female" and "male".
- Define the variable: Enter the variable name
$genderto save the answer. - Add the condition: Set
$debugcalculated value equals1. This way, the message only appears in testing mode. - Place it first: Move the testing message to the start of your Micro Dialog, so it is the first message shown.
Result: Each time you enter the dialogue, you can choose "female" or "male" and test each dialogue flow.
Example: Testing the dialogue flow for the variable $gender