Commands
Last updated: July 2026
The 'Commands' mechanism lets a coaching message trigger a specific behavior in the app — such as opening a link, showing a screen, or unlocking a feature. A Command is embedded directly in the text of a message and is executed automatically by the app as soon as the message is delivered to the participant.
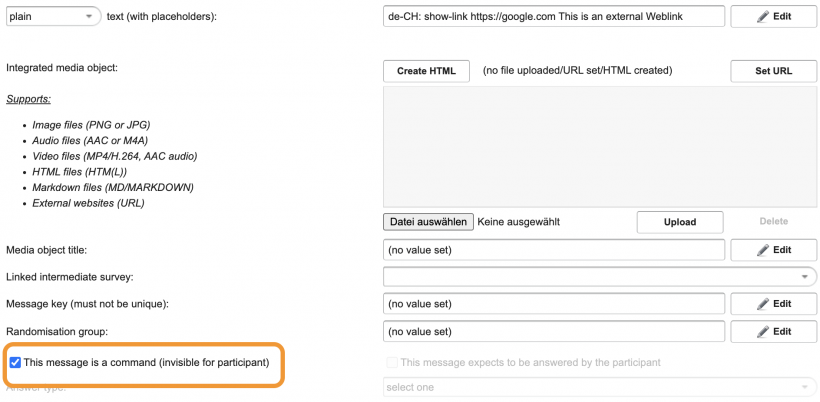
1. Syntax
A Command always starts with its name, followed by optional arguments, separated by spaces:
command-name argument1 argument2 ...- The first word is the command name (e.g.
show-link). - The second word is often a single required value (e.g. an ID or a URL).
- Everything after the command name is also available as one combined text block — this is used for content that itself contains spaces, such as a button title or a JSON configuration.
A Command only has an effect if it is recognized by the system. Using an unknown or misspelled command name will not produce an error, but the command will silently have no visible effect (the message becomes an empty/hidden bubble).
Some commands expect a plain value (e.g. a URL or an ID), others expect a JSON object as their content. The required format is documented per command below — please follow it exactly, including quotation marks for JSON.
2. Command Categories
| Category | Purpose |
|---|---|
| Navigation & Display | Opens links, screens, modals, or info cards from within a message |
| Media Library | Adds, unlocks, or displays items in the participant's media library — see the dedicated Media Library chapter for full details |
| Feature Activation & Onboarding | Unlocks app features and adds info/news entries for the participant |
| Settings | Sets synced configuration values on the participant's device |
| Tasks & Goals | Creates or removes scheduled tasks and long-term goals |
| Gamification | Updates a participant's score for a configured achievement |
| Questionnaire | Adds or updates a questionnaire entry — see the dedicated Questionnaires chapter for full details |
3. Navigation & Display Commands
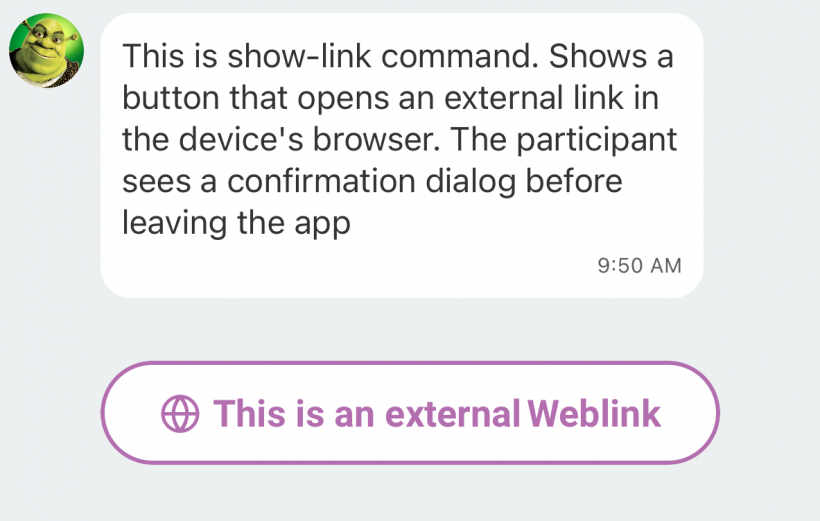
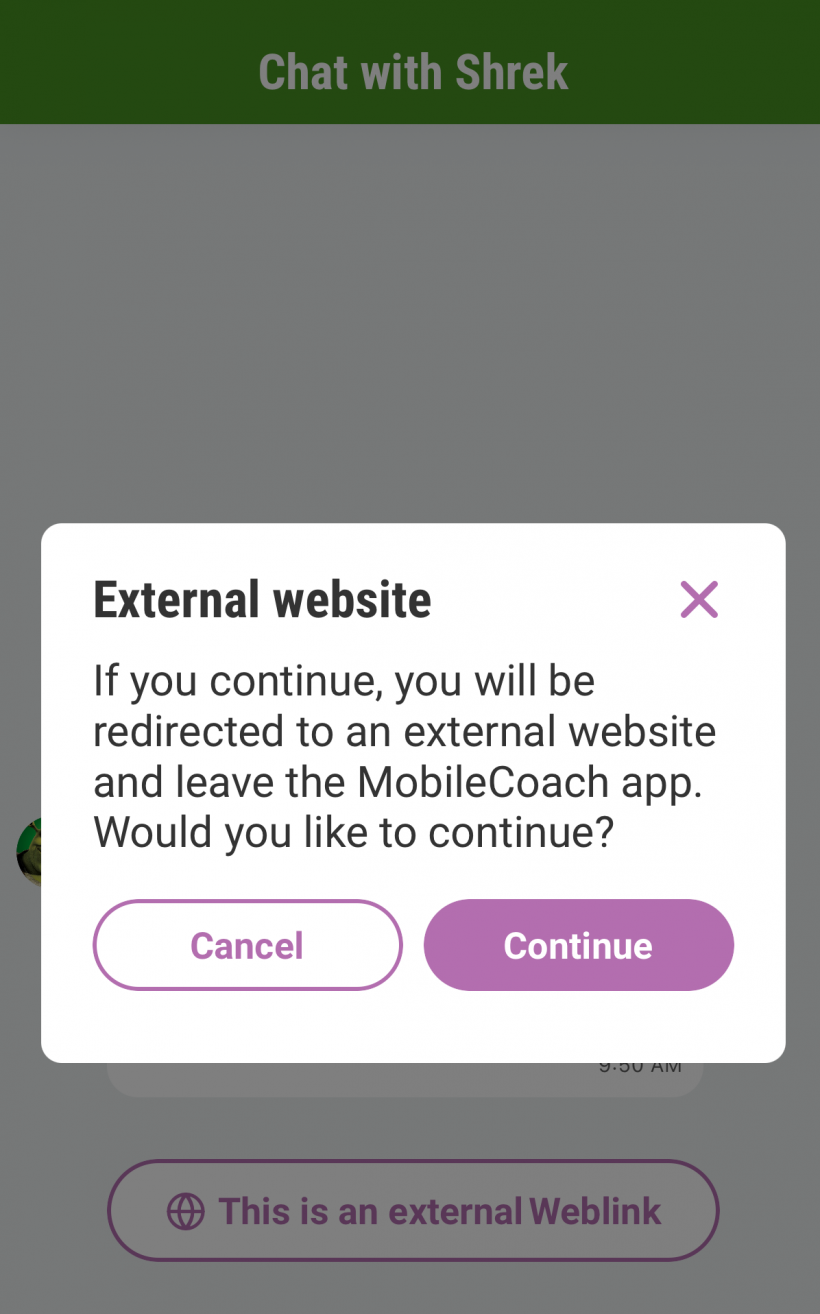
show-link- Description: Shows a button that opens an external link in the device's browser. The participant sees a confirmation dialog before leaving the app.
- Syntax:
show-link <url> <button title> - Example:
show-link https://www.example.com/appointment Book an appointment
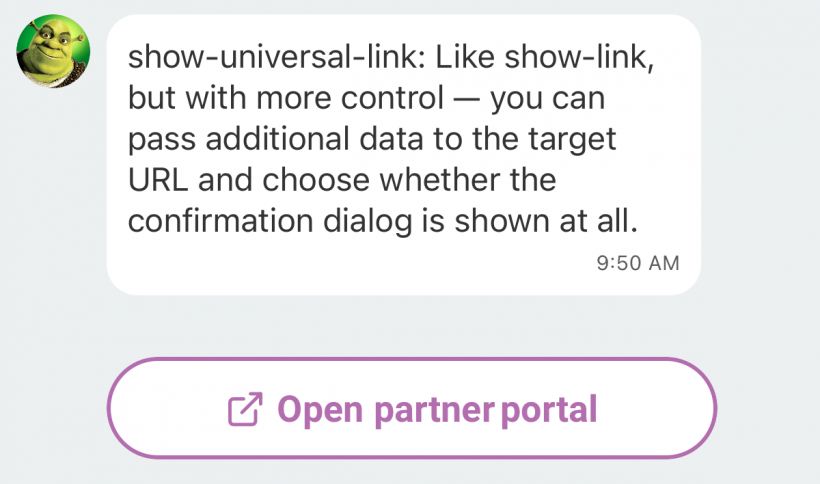
show-universal-link- Description: Like
show-link, but with more control — you can pass additional data to the target URL and choose whether the confirmation dialog is shown at all. - Syntax:
show-universal-link <JSON object> - JSON fields:
button(required): the button title shown in the chat.url(required): the target URL.data(optional): a string or object appended to the URL as a base64-encoded?d=query parameter — useful for handing over a variable value to an external system.confirmationDialogue(optional, boolean): set tofalseto skip the confirmation dialog and open the link immediately. Defaults to showing the dialog.
- Example:
show-universal-link {"button": "Open partner portal", "url": "https://partner.example.com/entry", "data": "$participantIdentifier", "confirmationDialogue": false}
- Description: Like
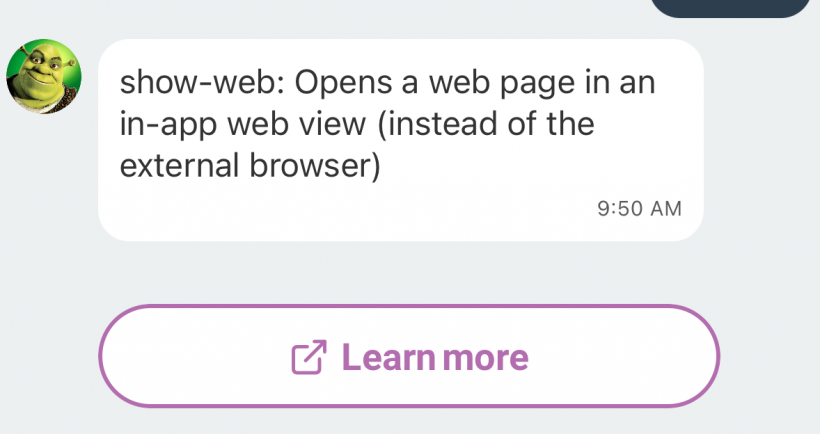
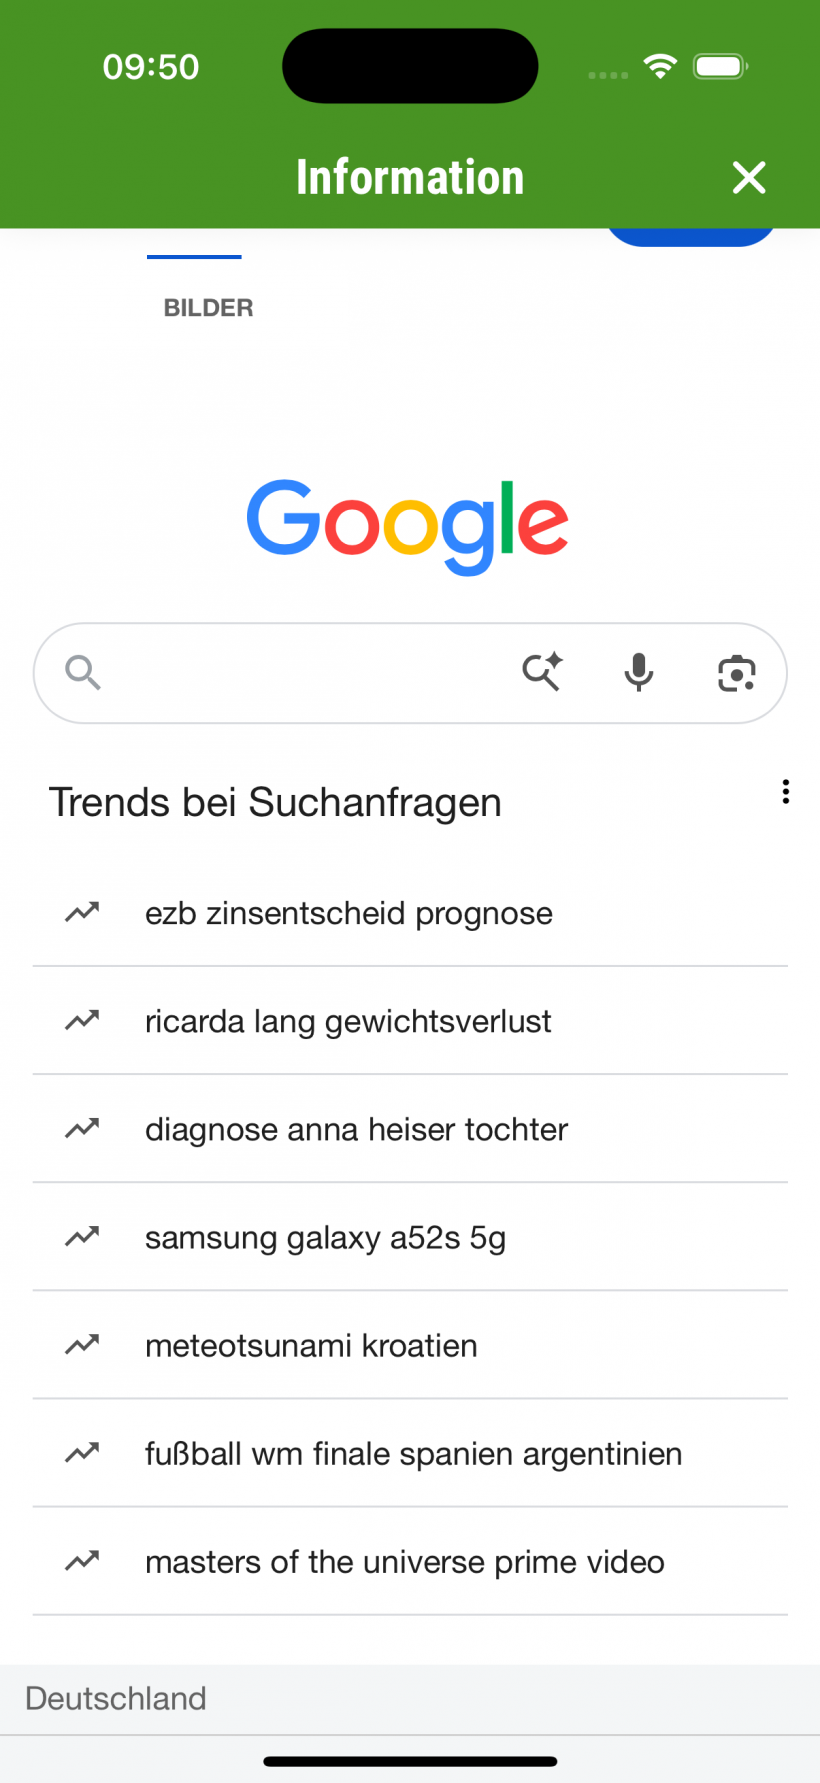
show-web- Description: Opens a web page in an in-app web view (instead of the external browser).
- Syntax:
show-web <url> <button title> - The value is used directly as the URL to load — it is not an id that references any content list managed elsewhere.
- Example:
show-web https://www.example.com/article Learn more
show-info- Description: Shows an info card with rich text content.
- Syntax:
show-info <info id> - The
<info id>is not looked up anywhere in the app — it is an arbitrary identifier that you choose yourself when writing the message. It is only used to tell the server which specific info card the participant opened/closed (for tracking purposes). - Example:
show-info 12 - You can see an example for that down below
media-library-button- Description: Shows a button that opens a single, specific item from the media library directly (without going through the library overview).
- Syntax:
media-library-button <media item id> <button title> - The
<media item id>must reference an item that was already added to the participant's media library beforehand, viaadd-media-libraryorshow-media-library(see the Media Library chapter). This command cannot be used to add a new item — only to link to one that already exists. If the id hasn't been added yet (or doesn't match), the button silently fails to appear, with no error shown to the participant. - Example:
media-library-button 7 Watch the video - Make sure to add the media to your library before using this command by using either
show-media-libraryoradd-media-librarycommand
navigate- Description: Navigates the participant directly to a specific screen in the app. The exact screen names available are defined by the app build; use only the names provided to you by Pathmate.
- Syntax:
navigate <screen name>— only a single word is supported, no additional parameters. - Example:
navigate daily-plan(opens the participant's daily schedule screen)
wait- Description: Pauses the delivery of the following messages for a given number of seconds. Used to control pacing within a sequence of messages rather than to display anything itself.
- Syntax:
wait <seconds> - Example:
wait 3
This is an example how the show-link command looks in the chat:
This is how a show-universal-link command looks in the chat:
This is how a show-web command looks and behaves in the chat:
This is how a show-info command looks like and behaves in the chat
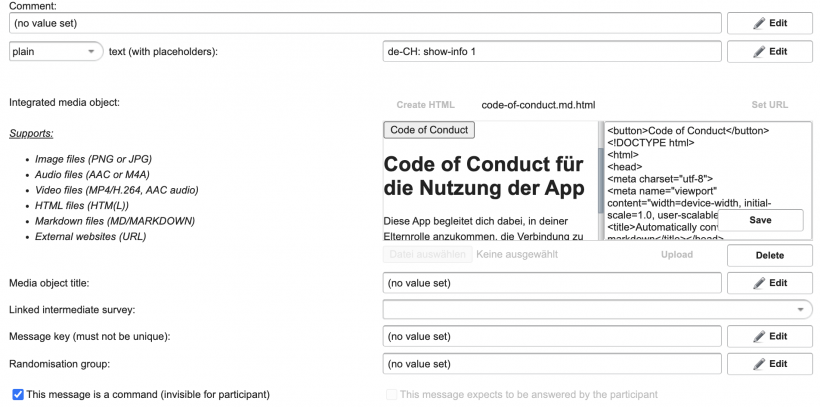
If you upload a markdown file it its automatically converted into a html file. In top you can now just add
<button>Your button label</button>So it will look like this:
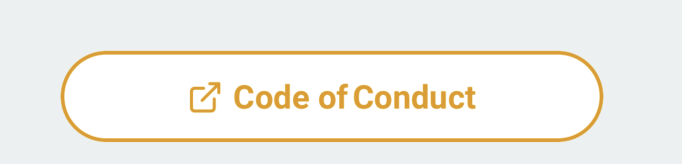
4. Media Library Commands
The following commands manage the participant's media library (add items, unlock them, mark favorites, filter by tags). Since this is a larger topic on its own, it is documented in full in the Media Library chapter of this documentation:
add-media-library/add-media-library-itemsshow-media-library/show-media-library-itemsunlock-media-librarysave-as-favoriteset-media-library-tags
5. Feature Activation & Onboarding Commands
activate-dashboard-chat— Unlocks the chat feature in the Blended Care Web Dashboard. No parameters.show-local-info— Records that a given info id has been made available to the participant, and syncs that record back to the server.- Syntax:
show-local-info <info id> - Note: based on the current app code, this command has no visible effect in the app itself — it does not display anything and is not the same as
show-info. It only maintains a bookkeeping list on the server side.
- Syntax:
service-channel-news- Description: Adds or updates an entry in the participant's Service Channel — an in-app news feed, reachable via a mail icon button in the chat header (which shows an unread-count badge). Sending a new entry also immediately shows a drop-down notification to the participant.
- Syntax:
service-channel-news <JSON object>with fields:id(required): unique identifier for the entry. Sending the sameidagain updates that entry instead of creating a new one.category(required): shown as an uppercase label on the news card, and included in the drop-down notification text.title(required): the card's headline.text(optional): the card's body copy.button/urlandbutton2/url2(optional): up to two call-to-action buttons on the card, opening the given URL when tapped.deleted(optional, boolean): set totrueto remove an existing entry (matched byid).
- Example:
service-channel-news {"id": "42", "category": "News", "title": "New feature available", "text": "Check out the new diary view.", "button": "Open diary", "url": "https://example.com/diary"}
6. Settings Commands
settings- Description: Sets a synced configuration value on the participant's device. The setting name itself is freely definable — any name will simply be stored and can be referenced later.
- Syntax:
settings <setting name> <value> - Example:
settings name $participantName
request-push-permissions— Prompts the participant again to grant push notification permissions. No parameters.
7. Tasks & Goals Commands
add-task- Description: Creates a new task in the participant's schedule.
- Syntax:
add-task <JSON object>with fields:id(required): unique identifier for the task.title(required): the task's display name.intervalType(optional, default"daily"):"daily"(repeats every day, at the time(s) initerationTimes) or"selected_days"(repeats only on the weekdays listed initerationDays, at the time(s) initerationTimes). The values"weekly","single_time", and"every_x_days"also exist internally but are not fully supported for tasks created through this command — use"daily"or"selected_days".iterationTimes(optional, default["ANY"]): array of reminder times as"HH:mm", or"ANY"for no fixed time.iterationDays: required whenintervalTypeis"selected_days"— array of weekday codes, e.g.["MON","WED","FRI"].reminderActive(optional, defaulttrue): whether a reminder notification is sent.startingTime(optional): timestamp in milliseconds. If omitted, or in the past, the task starts today.
- Example:
add-task {"id": "7.1", "title": "Take a 15-minute walk", "intervalType": "daily", "iterationTimes": ["ANY"], "reminderActive": true} - Example (selected days):
add-task {"id": "7.2", "title": "Swimming", "intervalType": "selected_days", "iterationDays": ["MON","WED","FRI"], "iterationTimes": ["18:00"]}
remove-task— Removes/disables a task from the schedule. Syntax:remove-task <task id>.
8. Gamification Commands
increment-achievement- Description: Increases (or decreases) the participant's score for a specific gamification achievement. If the new score crosses a rank threshold, an achievement popup is shown to the participant (unless popups are disabled in the app settings), and the updated score is synced back to the server.
- Syntax:
increment-achievement <achievement id> <value> - The
<achievement id>must match an achievement configured for the coaching (e.g.main, or one of the additional achievements) — it is not a free-text name. - Example:
increment-achievement main 10
9. Questionnaire Commands
The questionnaire command adds or updates a questionnaire entry for the participant — either as a drop-down notification in the app, or directly as an entry in the media library. Since this is a larger topic on its own, it is documented in full in the Questionnaires chapter of this documentation:
questionnaire